CREATE A PLANNER TO SELL: THE PREP COURSE
Create a Planner People Will Actually Use (Without the Overwhelm)
Learn exactly what to include, how it should flow, and how to bring it to life — with confidence, clarity, and a process that saves you time and money.
I bet you know this feeling . . .
I bet you know this feeling . . .
You have this amazing planner idea that you're genuinely excited about, but every time you try to move forward, you get stuck on the same questions.
What should actually go inside it?
How should it be organized?
What should it look like?
. . . And then you start second-guessing everything, right?
Here's what I see happen all the time:
You get fired up about your concept, maybe even start sketching some layouts, but then you realize you're basically navigating without a compass.
Or maybe you jump straight to the "pretty" stuff and end up with something that looks nice but doesn't actually solve the problems you wanted to tackle.
I’m happy to share that there’s a much better way to bring your planner dreams to life.
One that leaves you with total clarity on what should be included in your planner, why it belongs there, and how it should look — so you can stop second-guessing and start creating something people actually use (and rave about).

Imagine jumping on a video chat with your designer and saying:
"Okay, here's how my planner reflects how I believe people approach planning, productivity, and life organization. Here's who it's for and what keeps them up at night. Here’s what it needs to include so people actually use it (instead of letting it collect dust). And here's the exact vibe I want — I've got the colors, the fonts, the whole aesthetic mapped out. Here look, I even started sketching some ideas of what I’m thinking!”
That feeling is YOU showing up confidently to share your brilliant idea . . . regardless if it's with an experienced designer, a dream retail partner, or part of a strategic influencer collaboration.
That’s the power of doing the deep work up front — you walk in with clarity, confidence, and a planner concept that’s not only beautiful, but built to sell.

Create a Planner to Sell: The Prep Course
Three focused modules designed to take you from idea to professional foundation — so you can confidently create, design, and sell a planner people actually use.
Planning Philosophy®
Clarify your purpose and position your planner to stand out.
Before you think about layouts or fonts, you’ll uncover the “why” behind your idea — who you’re creating for, what problem your planner solves, and the unique perspective that makes it different from everything else on the shelf.
You’ll evaluate what’s already in the market, define your sweet spot, and write a clear purpose statement you’ll return to again and again as you make design and marketing decisions.
By the end, you’ll have a brand-aligned Planning Philosophy that guides every creative and strategic choice — and saves you from expensive missteps later.
MODULE 1
Planner Organization
Transform your idea into a functional, intuitive structure.
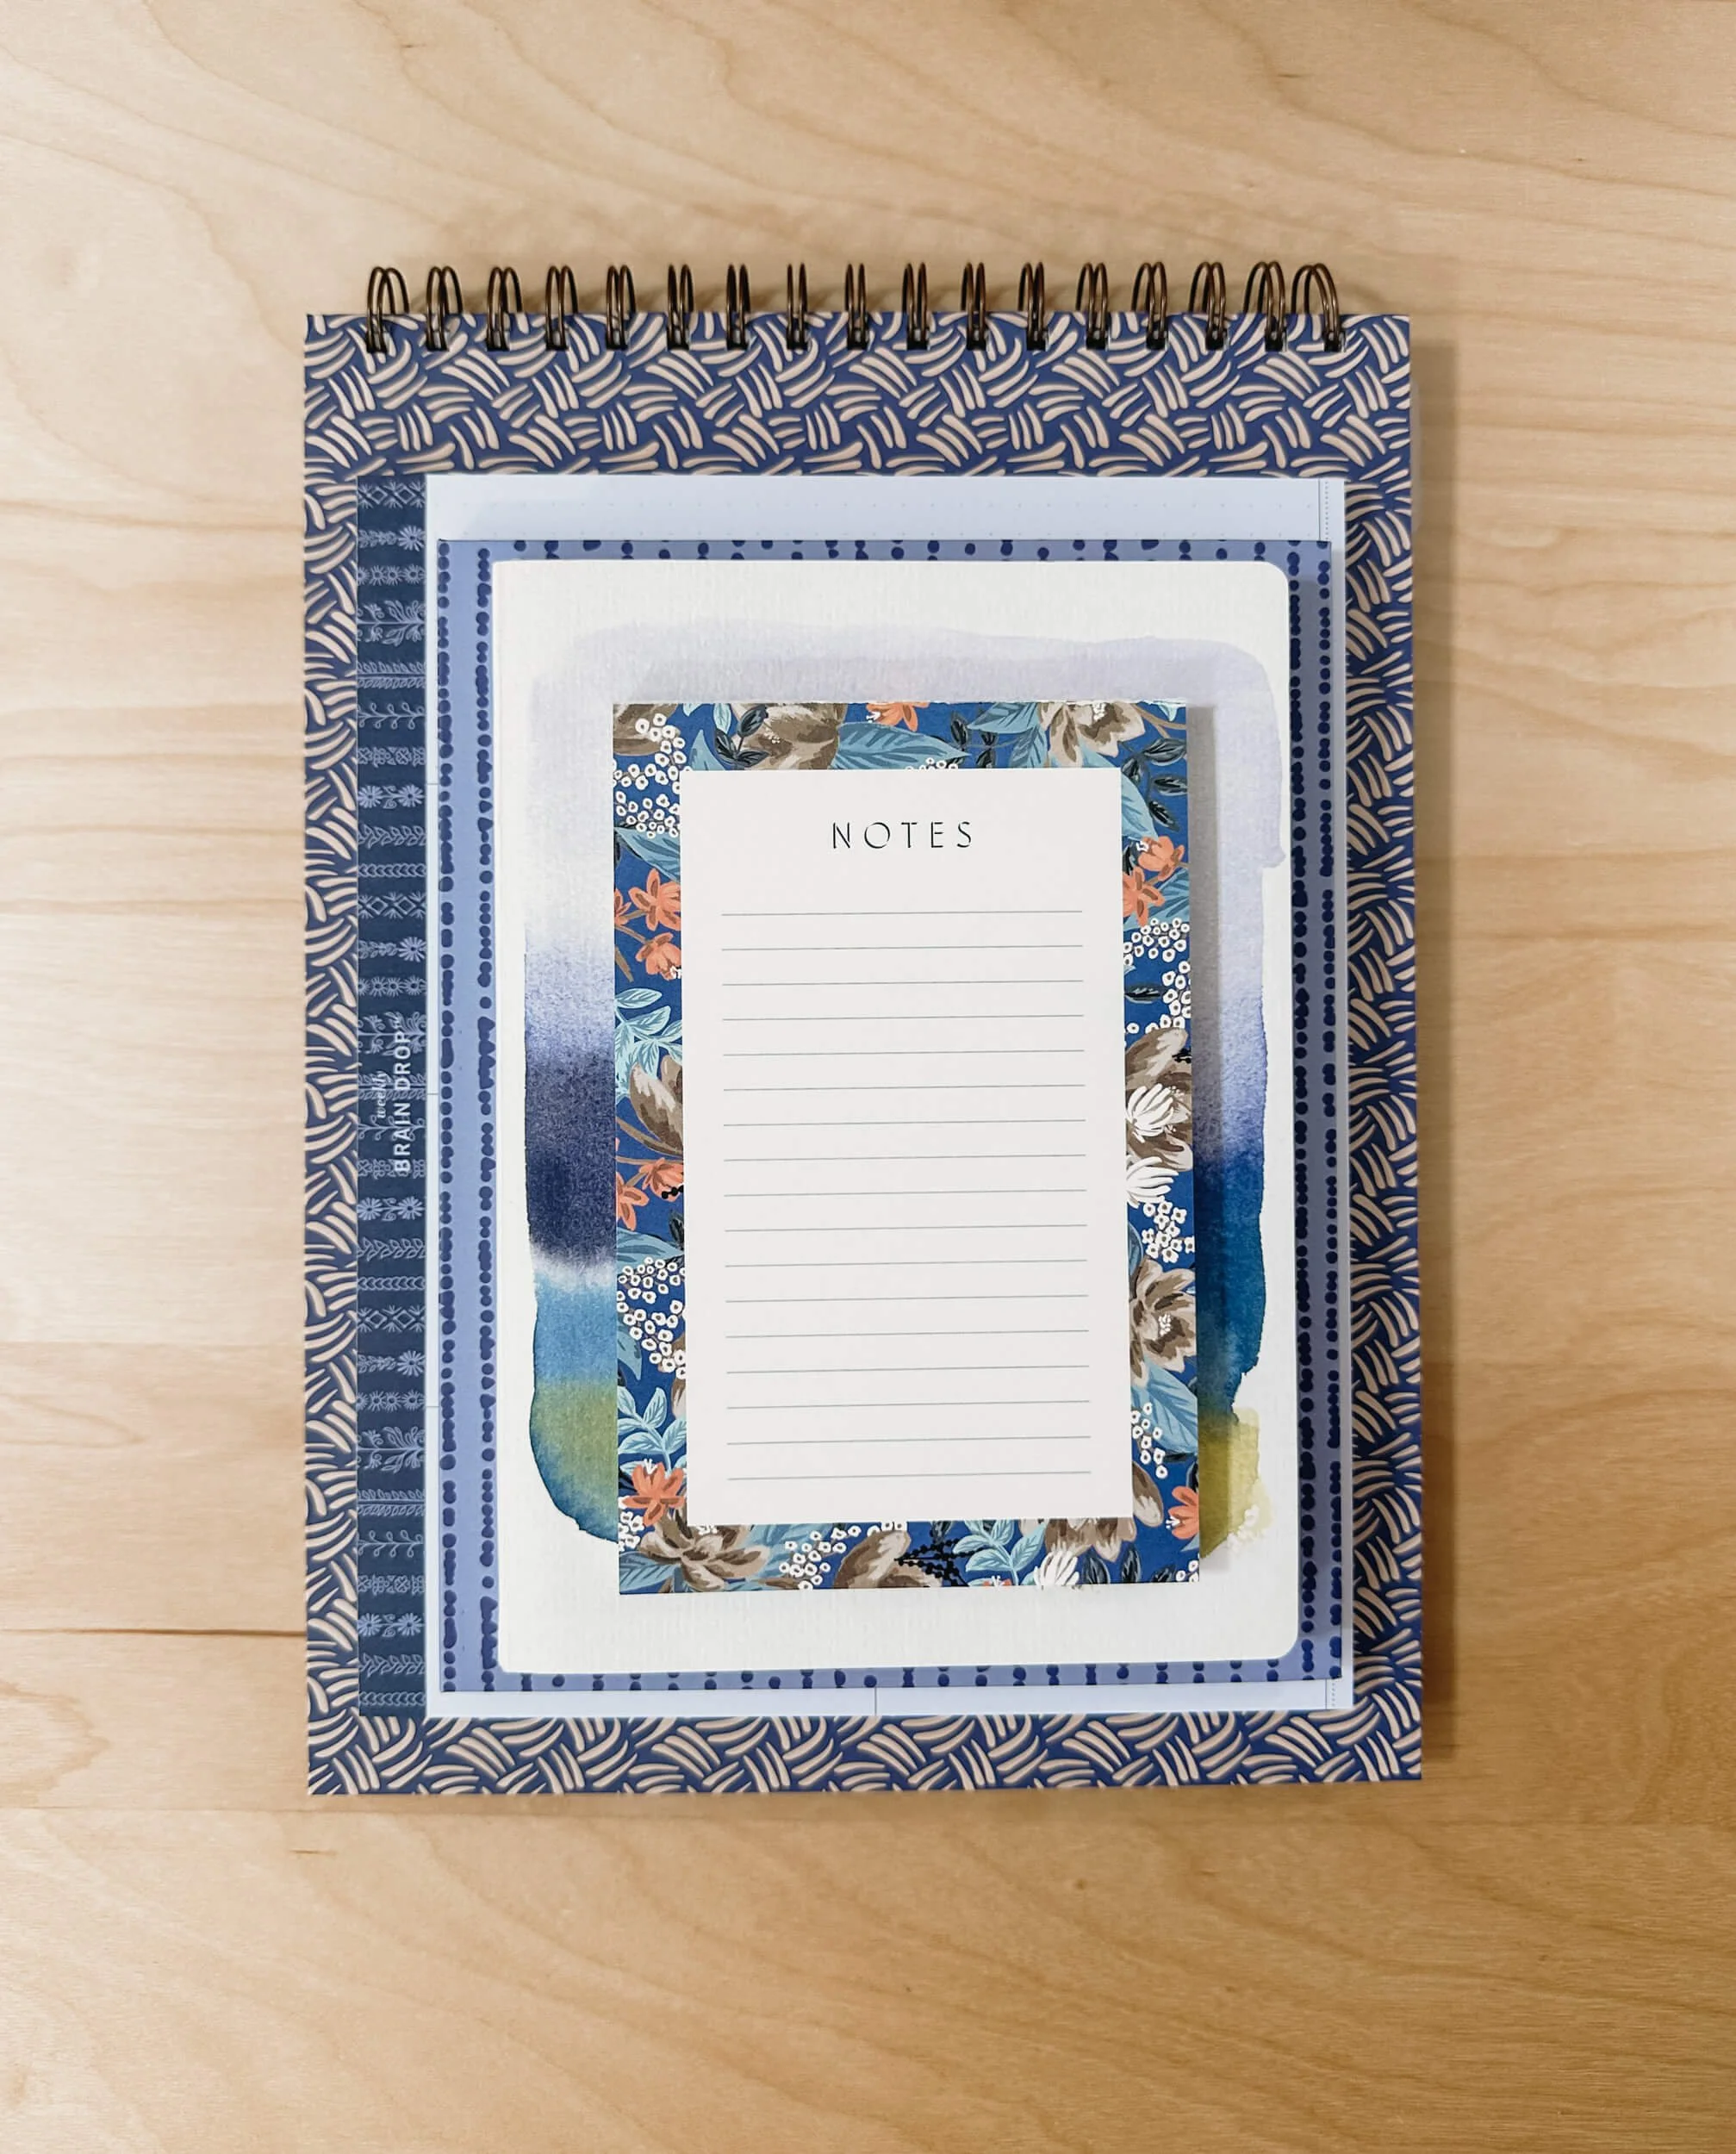
Here’s where clarity meets practicality. You’ll explore common planner formats and page types, then walk through how your users will experience the planner day by day.
You’ll identify exactly what belongs inside, what doesn’t, and how each page supports your overall purpose.
By the end, you’ll have a complete, page-by-page content outline — your “planner blueprint” that keeps design simple, cohesive, and user-friendly.
MODULE 2
Planner Design Foundation
Create the visual direction that brings your vision to life.
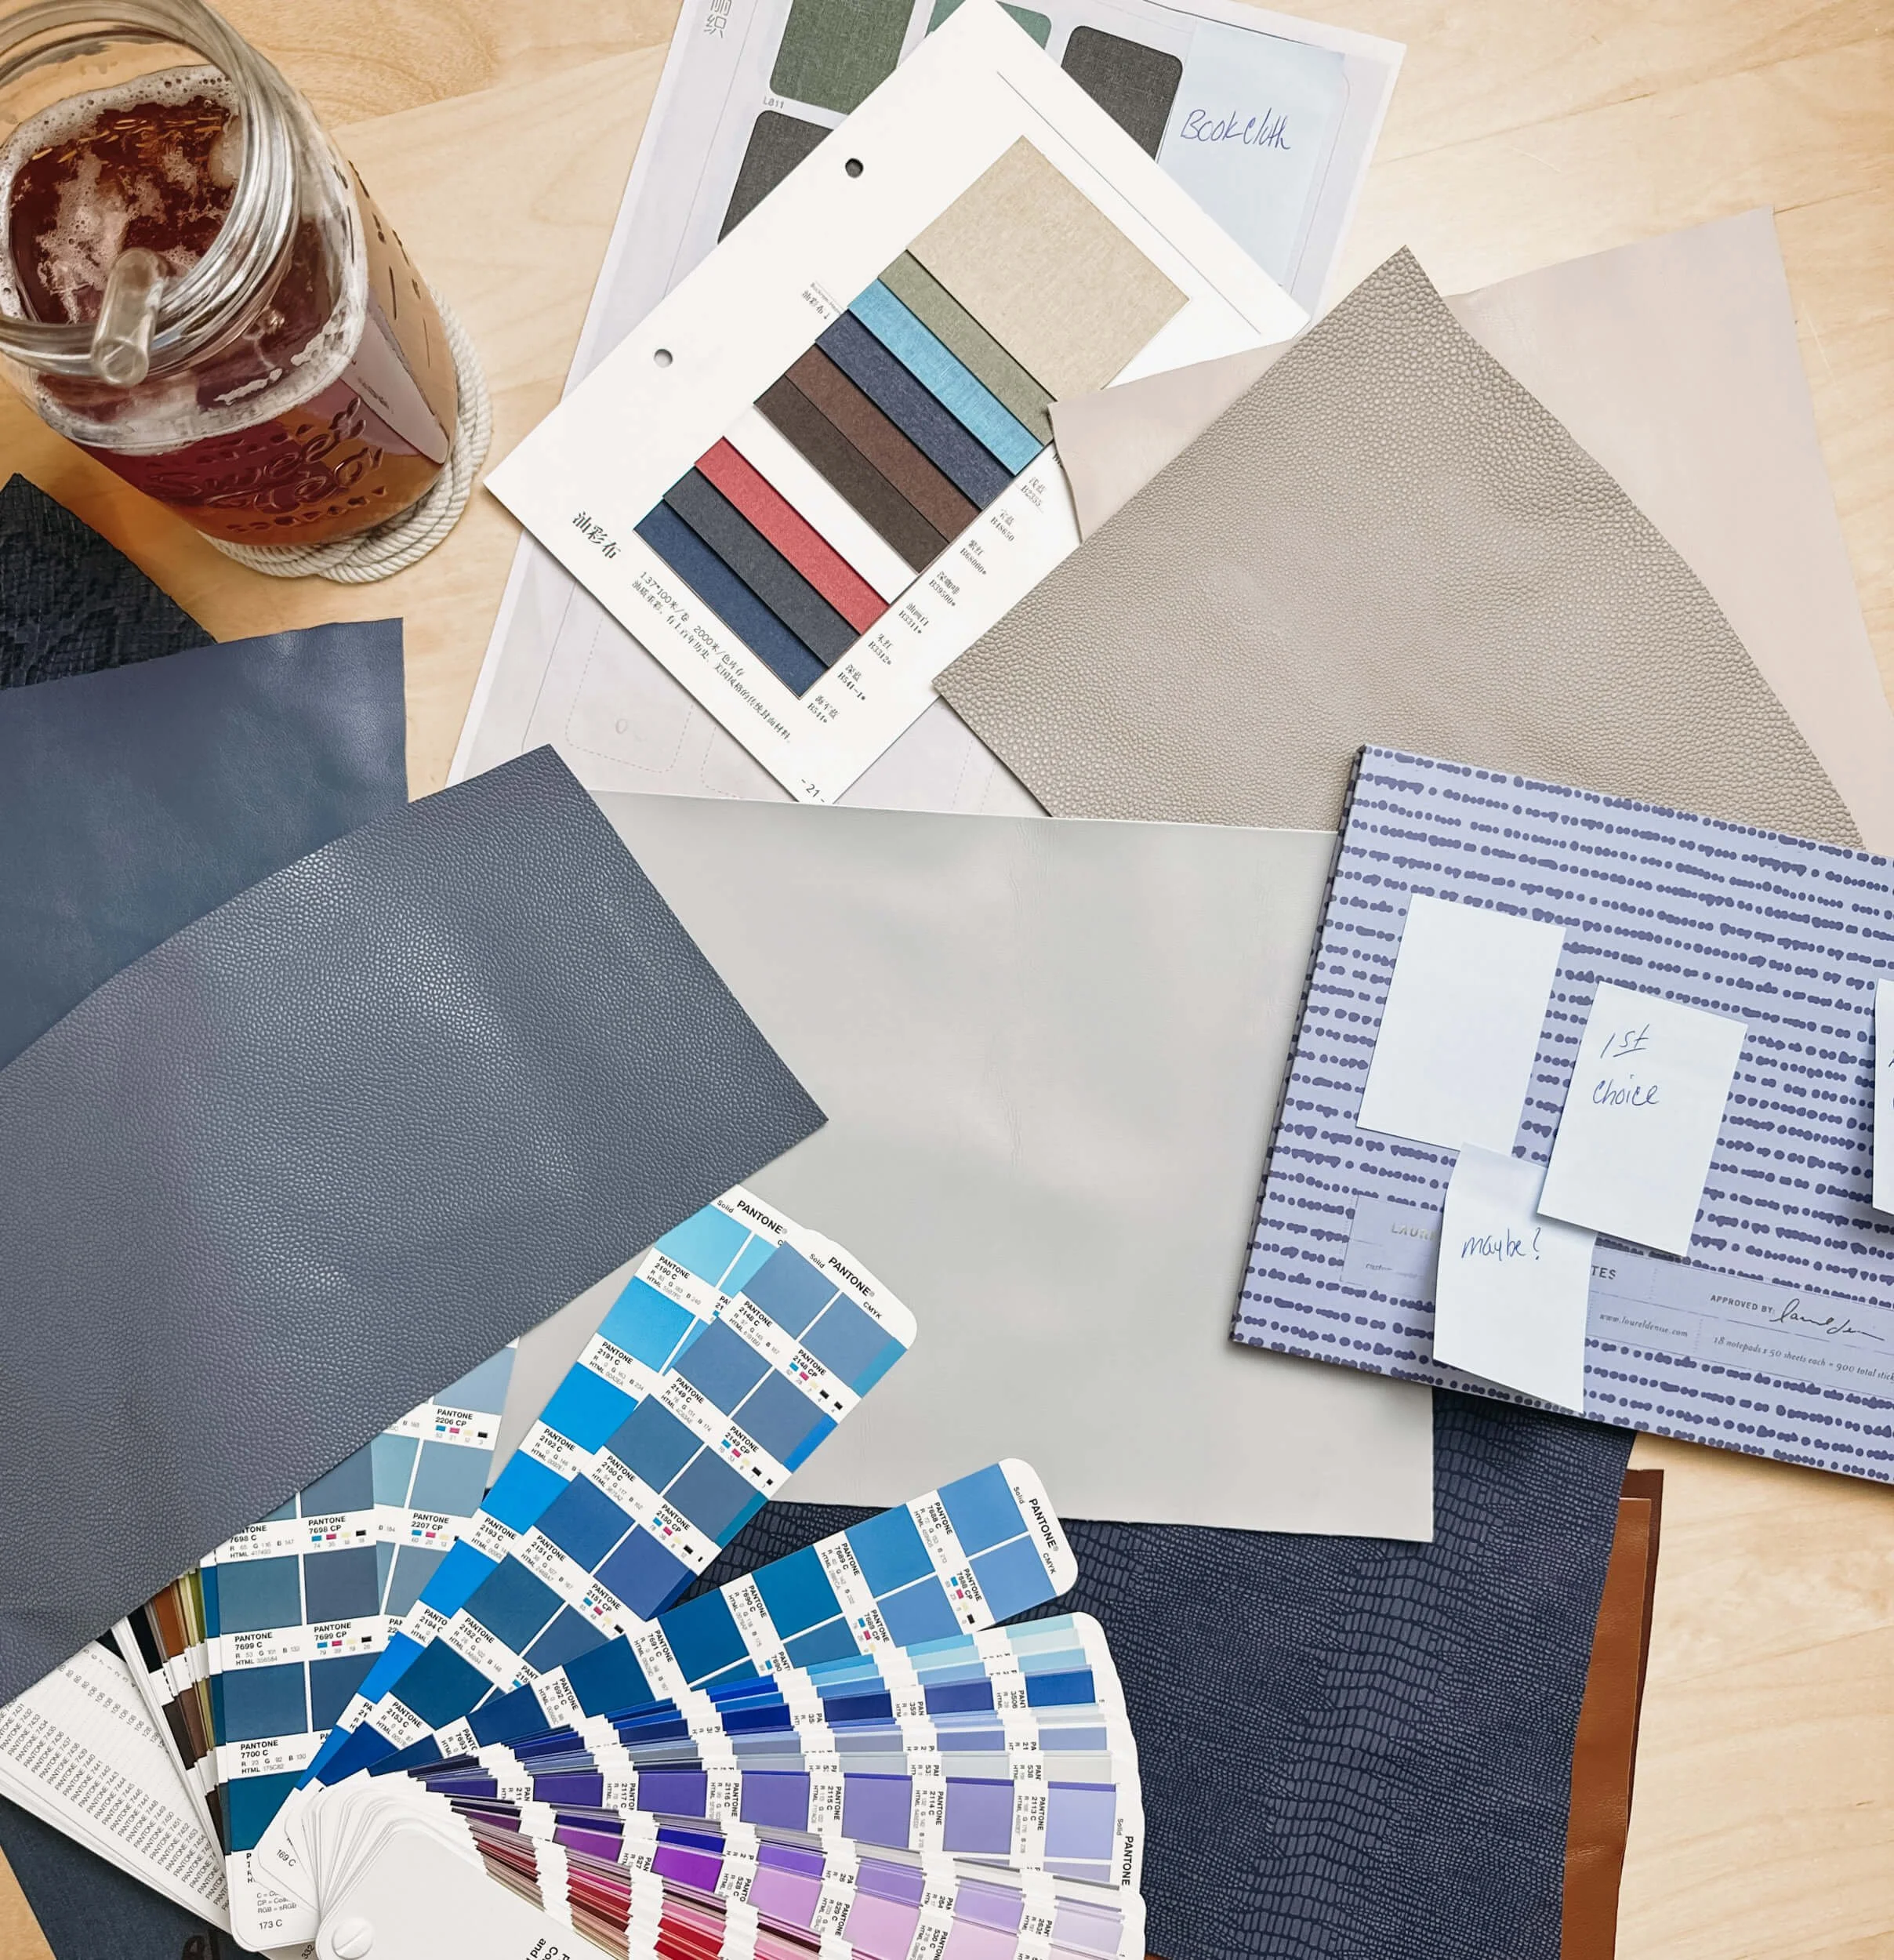
With your purpose and flow locked in, you’ll define your color palette, fonts, and aesthetic — then translate them into a cohesive visual style guide.
You’ll document the look, feel, and personality of your planner so your final product feels professional, aligned, and unmistakably you.
By the end, you’ll have a polished creative brief and brand guide ready to hand off to a designer — or use yourself with confidence.
MODULE 3

What's included:
✅ 5 short videos (seriously, 5 minutes or less each — I know you're busy)
✅ 3 detailed workbooks that walk you through everything step-by-step
✅ Over 15 worksheets that help you make every important decision
✅ Complete design brief template that'll make the design phase easy
✅ Keep it forever access to everything, including any updates I add

When you finish the course, you’ll walk away with:
✅ A written purpose statement that defines your planner’s “why”
✅ A detailed audience profile that keeps your decisions user-focused
✅ A complete content and layout outline that makes production seamless
✅ A professional visual style guide for consistent design direction
✅ A ready-to-use creative brief for your designer or printer
Together, these form your Planner Blueprint — the professional foundation that saves time, prevents costly do-overs, and sets you up to create a product you’re proud to sell.
This isn't your typical "planner design" course.
Look, there are plenty of courses out there that'll teach you the technical stuff — software tutorials, printing specs, how to make hyperlinks work. That's all useful, but here's my take: you're getting ahead of yourself if you start there.
This course is about the strategy that makes everything else fall into place.
When you're done with this, you'll have figured out all the big decisions about your planner. Whether you hire a designer or tackle it yourself, you'll know exactly what you're building and why. No more staring at a blank page wondering what the heck you're doing.
This is perfect for you if:
You've got a planner idea brewing but feel overwhelmed about the next steps.
You want to create something that's actually unique (not just another pretty planner).
You're the type who likes to plan things out instead of winging it.
You don't want to get on a hamster wheel of spending unnecessary time and money reviewing designs that aren't even close to what you envisioned.
You want to make sure your planner actually helps people instead of just looking Instagram-worthy.
You're ready to get serious about this but want to do it smart.

After two decades designing planners for top stationery brands and entrepreneurs alike, I’ve seen what separates a product that sells from one that stalls. This course teaches you the exact process I use with my clients — step by step.

Meet Your Instructor
I’m Heather Harris, founder of Copper Bottom Design Co. and a planner design + production specialist with over 20 years of experience in the fine stationery world.
I’ve designed for brands like Tiffany & Co., Barney’s, and Brooks Brothers, and today I work with entrepreneurs who want to turn their planner ideas into beautiful, functional, and profitable products.
I created this course because I know how overwhelming it can feel to take your idea and figure out what pages to include, how to organize them, and what design direction to choose. My goal is to give you the same tools, strategies, and insider knowledge I use with my clients — so you walk away not just with inspiration, but with a clear, actionable plan for your planner.
By the end of this course, you won’t just have an idea — you’ll have a philosophy, a structure, and a visual foundation that positions your planner to stand out and succeed. I’m thrilled to be your guide in this process, and I can’t wait to see what you create.

Ready to stop second-guessing yourself?
Listen, your planner idea is good. I can tell because you're here, doing the research, wanting to do this right. But good ideas deserve more than guesswork and crossed fingers.
The planners that actually change people's lives? The ones that become daily necessities instead of JUST pretty shelf decorations? They start with exactly the kind of strategic foundation you'll build in this course.
You don't have to figure this out all by yourself. Let me help you get clear, get organized, and get ready to create something amazing.

FAQ
Quick answers to what you're probably wondering:
How long will this take me?
Most people get through it in 1-2 weeks, spending a few hours on each module. But honestly, take whatever time you need — you've got lifetime access.
What if my planner idea isn't fully formed yet?
Even better! This course is designed to help you clarify and refine your concept. Some of my best success stories started with pretty vague ideas that became crystal clear through the process.
I'm not a designer; will I be in over my head?
Not even a little bit. This is all about strategy and decision-making, not technical design skills. You'll finish knowing exactly what you want, and that's what matters.
What if I want to design it myself instead of hiring someone?
This foundation works either way! Whether you're working with a pro or going the DIY route (or you are the pro!), you'll have clear direction instead of just hoping for the best.


The Copper-Bottomed Guarantee
TAKE 30 DAYS TO SET YOUR PLANNER FOUNDATION.
If after working through the course you don’t feel clearer, more confident, and more equipped to bring your planner idea to life — no worries. You’re completely free to change your mind.
I believe so strongly in the value of this course that I want you to feel fully protected as you dive in. No stress, no second-guessing — just 30 days to test it out and see if it’s the right fit for you.
If you find it’s not, simply send us an email at ahoy@copperbottomdesign.com
within 30 days of purchase, and we’ll issue a full refund.
Because when I say your investment is Copper-Bottomed, I mean it’s strong, steady, and backed with complete peace of mind.